I don’t know about you, but this time of year I get a little crazy about having plants around the house. They add so much life to a space and they can be so much fun to watch grow!
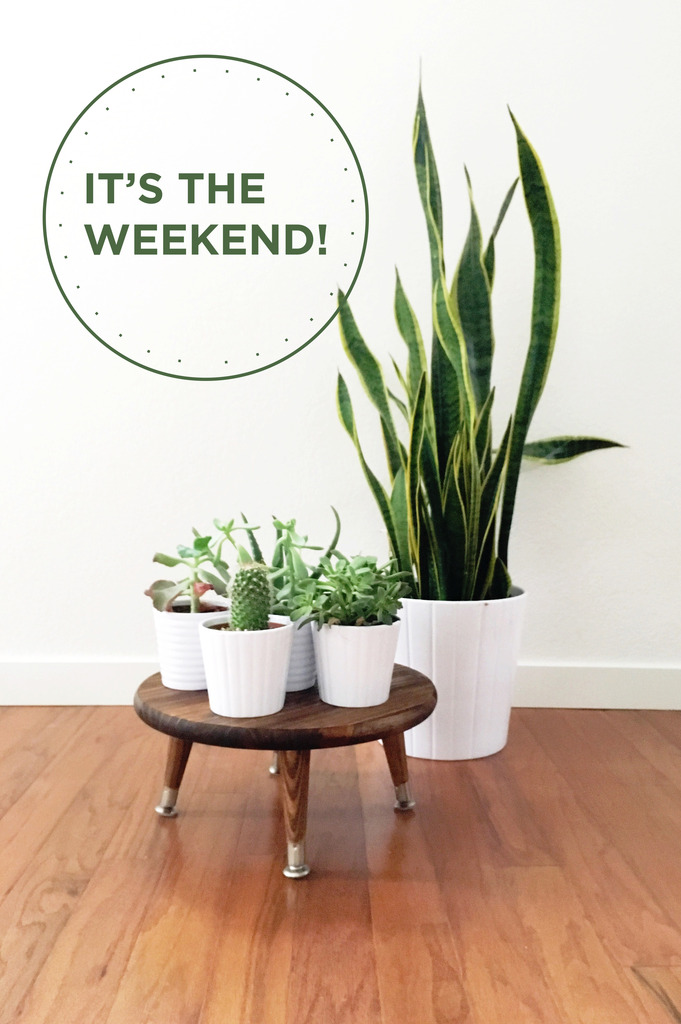
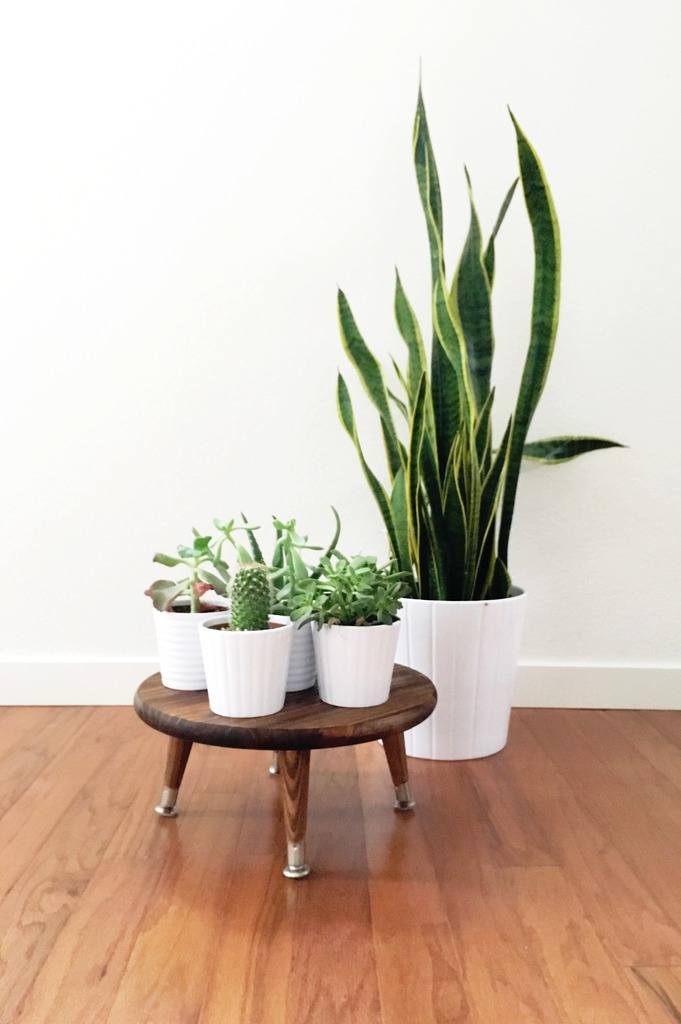
Lately, I’ve been trying to figure out how to display my plants in a way that keeps everything from looking cluttered. The result (drum roll please): DIY Mid Century Plant Stands!
I was able to get everything at Lowes for only $35 (which is a steal when you think of how much something like this would cost at Target!). So get your wood stain and drills ready and let’s make something awesome!
Materials:
Latex (or latex-free) protective gloves for staining
MinWax PreStain Conditioner
Wood stain in color of choice (I used MinWax English Chestnut)
1-2 fabric cloths you’re willing to throw away
Paint in color of choice & paintbrush (optional)
Drill
15” circle board
Four 6” taper legs
Four leg mounts with screws
Mineral Oil
1. Condition all of your wood. This is extremely important. Especially living in Colorado, our climate is extremely dry and wood will suck up everything it can. Conditioning your wood before staining will ensure that your wood takes in the amount of stain you want instead of drinking it all up until it looks black and blotchy.
After making sure your wood is free of dirt and dust, put on your gloves and dip a cloth in your MinWax PreStain Conditioner and apply liberally to all sides of your circle board and wooden legs. Let soak for a minute and wipe off any excess. I’d let this dry for around 15-20 minutes before staining.
2. Start staining! (follow instructions on the label) Dip a new cloth or a clean side of your conditioning cloth into the stain and apply liberally to the top and sides of your circle board and all of the wooden legs, going edge to edge with the grain. Be careful not to let stain drip to the underside of the board. The amount of time you let your stain soak and the number of coats you put on it will determine the darkness of your stain. Keep in mind that oiling the wood after the stain has dried will also deepen the color a bit.
After the top and sides of the circle board have dried, stain the bottom. Let dry.
**** I *recommend* letting your stain dry for 24 hours. But I am also one of the least patient people ever and tend to only give it an hour before working with it again. That can work; however, you’ll risk some of the stain coming off when you oil your wood to finish it. It’ll also smell really strong. ****
(OPTIONAL) 3. Paint! Paint the side of your circle board in your color of choice. I carefully painted the side of my circle board white to match the feel of the rest of our house.
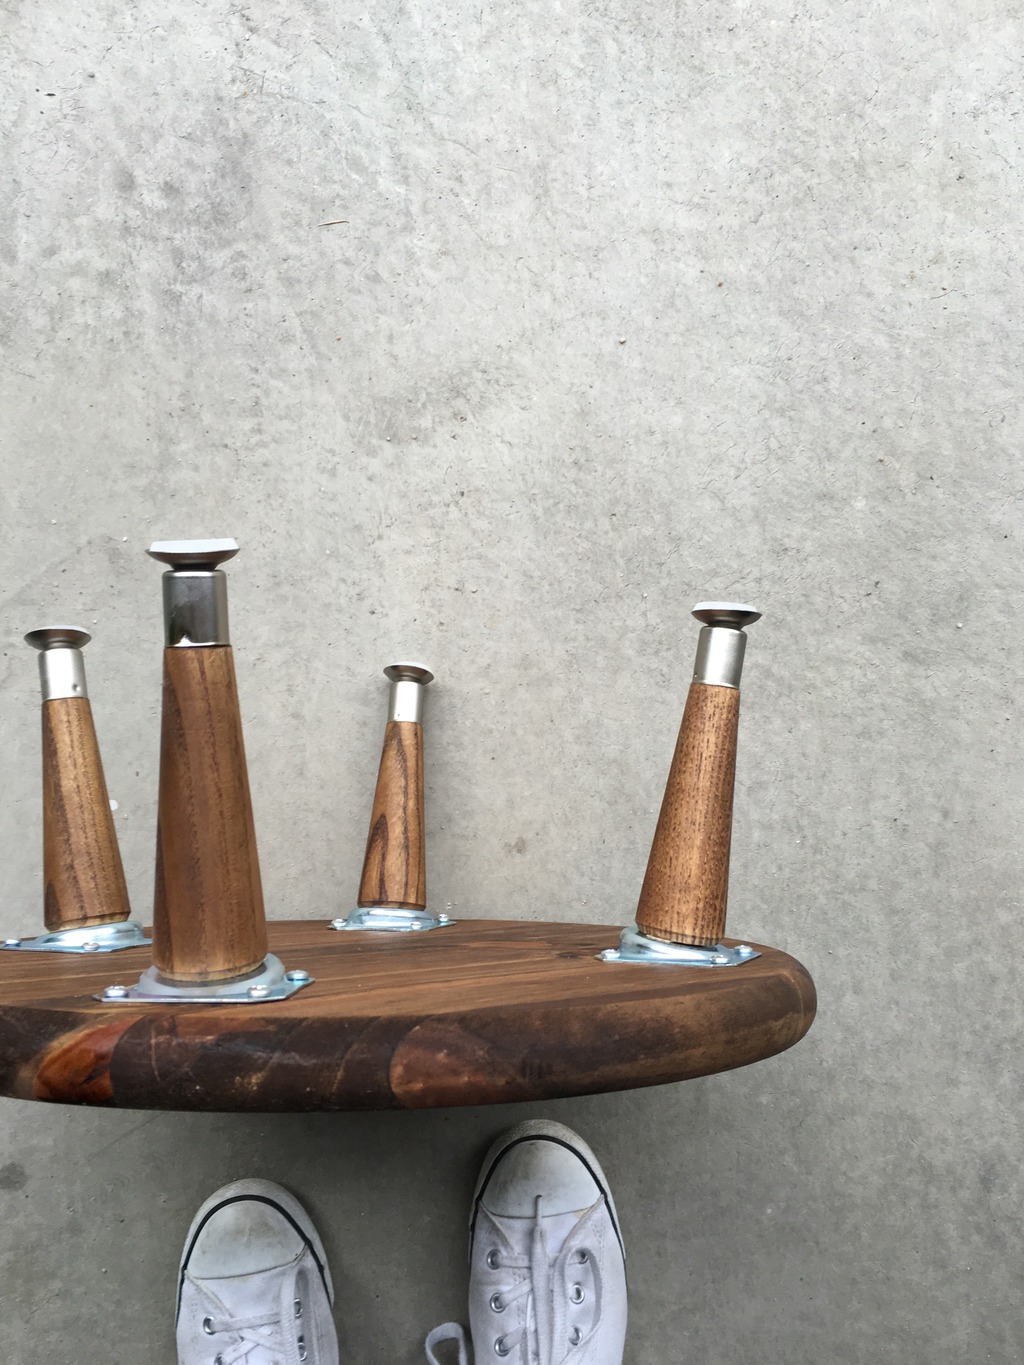
4. Attach your leg mounts. Using a drill and the included screws, screw your leg mounts into the bottom of your circle board. It may help to put your legs underneath to see where you want them to fall before attaching your mounts. It helps to measure before you begin attaching them to the board. Also note the photo below – make sure the mounts are angled with the tallest part furthest away from the edge. This will make the legs taper out.

5. Attach legs. Screw your stand legs into the leg mounts you attached in the previous step.
6. Oil, oil, oil. I recently stopped using poly to seal my wood projects and started using mineral oil. It can be a little more labor intensive over the long run because you’ll need to oil it a couple times a year for maintenance, but I honestly love the finish a lot more and would rather use something natural as a finish.
Squeeze oil onto a clean cloth and rub into the wood.
7. Show off! Show off your beautiful new plant stand and make your other plants jealous.”
Jen

Thank you for joining us for the new series It’s The Weekend! This series will be hosted by Jeanne Oliver or contributing blogger and artist Jen Wagner.

what a great idea 🙂 I was mid-century when mid-century wasn’t cool. Isn’t that a country song or something?
Love this series! And what a great, doable little project!
Awesome!